
Floor tiling is the process of installing tiles on a floor surface. Tiles are made from a variety of materials, including ceramic, porcelain, natural stone, and glass. They are available in a wide variety of shapes, sizes, and colors, making them a versatile option for any flooring project.
There are many benefits to floor tiling. Tiles are durable and can withstand heavy foot traffic. They are also easy to clean and maintain. Tiles can also be used to create a variety of looks, from classic to modern.
Types of floor tiles
There are many different types of floor tiles available, each with its own unique advantages and disadvantages. You can check here to learn more.
Tools and materials needed for floor tiling
To lay floor tiles, you will need the following tools and materials:
- Floor tiles: Make sure to purchase enough tiles to cover the entire floor surface, plus an extra 10% for waste.
- Tile adhesive: Choose a tile adhesive that is appropriate for the type of tile you are using and the subfloor material.
- Notched trowel: A notched trowel is used to spread tile adhesive on the subfloor.
- Rubber mallet: A rubber mallet is used to tap the tiles into place.
- Spacers: Spacers are used to ensure even spacing between the tiles.
- Grout: Grout is used to fill the spaces between the tiles.
- Grout float: A grout float is used to apply and remove grout.
- Sponge: A sponge is used to clean up excess grout.
Preparing the subfloor
Before you can lay floor tiles, you need to prepare the subfloor. The subfloor should be even and level, and it should be free of any debris or moisture. If the subfloor is not level, you will need to use a leveling compound to smooth it out. If the subfloor is not dry, you will need to wait until it is dry before proceeding.
Laying the tiles
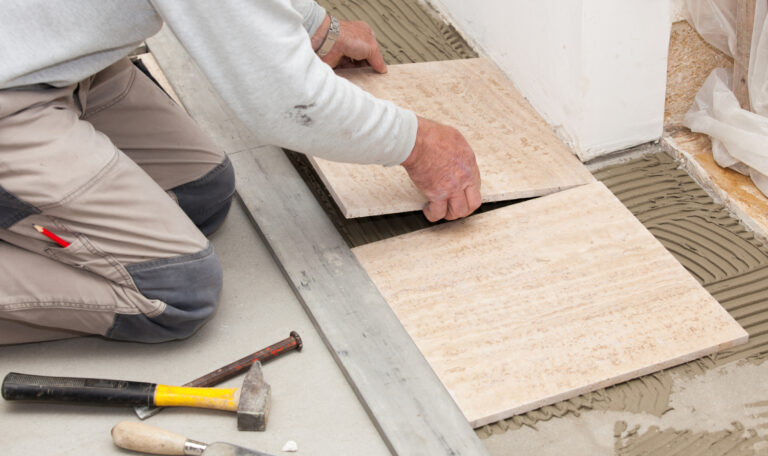
Once the subfloor is prepared, you can begin laying the tiles. Start by dry laying the tiles in the desired pattern. This will help you to visualize the layout and to ensure that you have enough tiles.
Once you are satisfied with the layout, mix the tile adhesive according to the manufacturer’s instructions. Spread the tile adhesive on the subfloor using a notched trowel. Be sure to spread the adhesive in a consistent thickness.
Place the tiles on the subfloor and tap them into place with a rubber mallet. Use spacers to ensure even spacing between the tiles.
Once all of the tiles have been laid, allow the tile adhesive to dry completely according to the manufacturer’s instructions.
Grouting the tiles
Once the tile adhesive has dried, you can grout the tiles. Mix the grout according to the manufacturer’s instructions. Apply the grout to the spaces between the tiles using a grout float. Be sure to press the grout into the spaces completely.
Once the grout has been applied, remove the excess grout with a damp sponge. Allow the grout to dry completely according to the manufacturer’s instructions.
Sealing the tiles
Once the grout has dried, you can seal the tiles. Applying a sealant to the tiles will help to protect them from stains and moisture. Choose a sealant that is appropriate for the type of tile you are using.
Follow the manufacturer’s instructions for applying the sealant. Be sure to apply the sealant to all of the tiles, including the grout lines.
Conclusion
Laying floor tiles can be a complex process, but it is possible to do it yourself with the right tools and materials. By following the steps outlined in this blog post, you can ensure a successful installation that will last for many years to come.